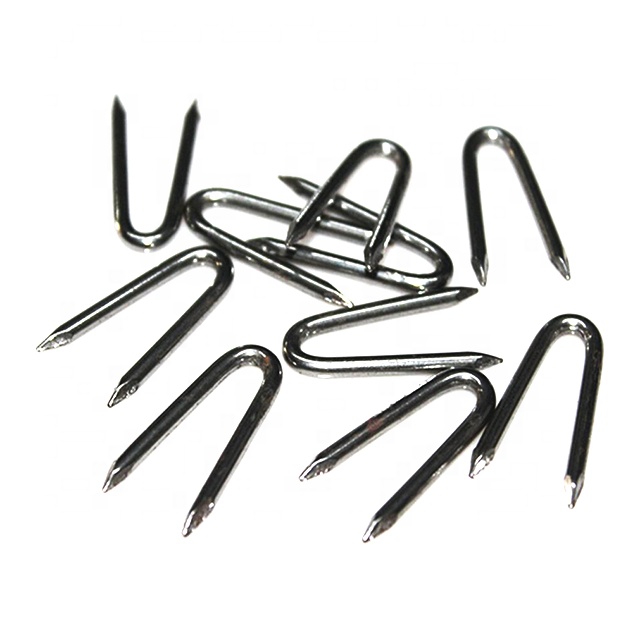
U-shaped nails,also known as turf nails, are mainly used to fix turf on golf courses, garden lawns, and other places that require turf. They are also used to fix covers, mats, round pipes, and so on. So how do you install it? Next, I will answer for you.
1.remove the nuts, first remove the nuts on both sides of the bolt, and then place the U-shaped nails around the object to be connected to the crossbeam or bracket, usually the pipeline.
2.ensure that the supporting structure is correctly drilled. If the crossbeam is drilled through, ensure that its protective coating is not damaged, as cracks in the coating may cause rust around the hole. At this stage, it is wise to trim the beam surface around the hole before adding bolts, with both ends of the bolt passing through the hole, and then tighten the nut at both ends of the U-nail.
The position of the nut on the restraint device is different from that of the guide device. If using restraint devices, it is necessary to tighten the nuts at the bottom of the crossbeam. For the guide rail, you need to place a nut at the top of the crossbeam. These nuts can leave an appropriate distance between the pipeline and the U-shaped nails. After the nut is in place, manually tighten the nut close to the crossbeam, and then tighten the second nut at each end, which will lock the U-shaped nail in place. Then use an electric tool or wrench to tighten the nut until it is secure. These are the correct methods for installing U-nails.
Post time: Jun-05-2023