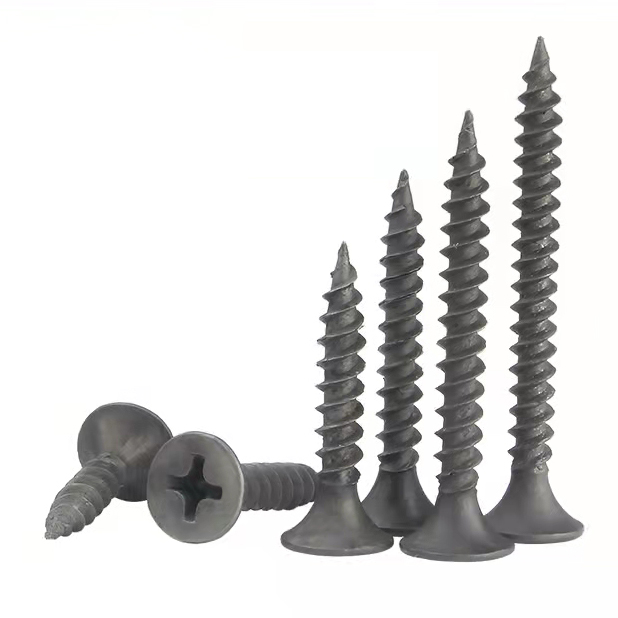
Drywall screwsare the unsung heroes of interior construction projects. These specialized screws are designed to secure drywall panels to studs or wall frames, ensuring a sturdy and seamless finish. Whether you’re a DIY enthusiast or a professional contractor, learning the proper techniques for using drywall screws is essential for achieving professional results. In this article, we will guide you through the step-by-step process of using drywallscrewseffectively.
Step 1: Prepare the Work Area
Before beginning any installation project, ensure that the work area is safe and free of any potential hazards. Make sure the drywall panels are the correct size and have been appropriately cut to fit the space. Arrange the necessary tools such as a drill/driver, a drywall knife, screwdriver bit, and a tape measure for accurate measurements.
Step 2: Mark the Studs
Identifying the stud locations is crucial for secure screw placement. Use a stud finder or employ traditional methods (tapping or measuring from an adjacent stud) to determine the location of the studs behind thedrywall.Mark these spots with a pencil or a light score on the surface.
Step 3: Select the Correct Type and Length of Drywall Screws
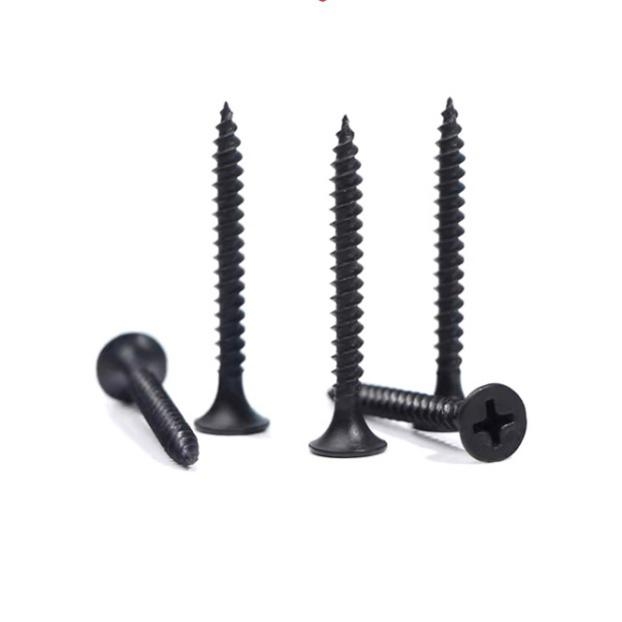
Drywall screws come in different sizes and types, so it’s crucial to choose the right ones for your project. Use coarse-threaded screws (black phosphate or zinc-plated) for wood studs and fine-threaded screws (self-drilling) for metal studs. The length of the screw should be determined based on the thickness of the drywall and the stud depth, aiming for at least 5/8″ of penetration into the stud.
Step 4: Start Screwing
Take the appropriate screwdriver bit, ideally one specifically designed for drywall screws, and attach it to your drill/driver. Position the first drywall panel against the studs, ensuring proper alignment. Start at one corner or edge of the panel and align the screwdriver bit with the pencil mark over the stud.
Step 5:Drillingand Screwing
With a steady hand, gradually drill the screw into the drywall panel and into the stud. Apply firm but controlled pressure to avoid damaging the surface or pushing the screw too far. The trick is to embed the screw head slightly below the drywall surface without breaking the paper or causing dimples.
Step 6: Screw Spacing and Pattern
Continue the screwing process, maintaining a consistent spacing between screws. As a general rule, space screws 12 to 16 inches apart along the stud, with closer distances near the panel edges. Avoid placing screws too close to the panel’s corners to reduce the risk of cracking.
Step 7: Countersinking or Dimpling
Once all the screws are in place, it’s time to countersink or create a slight dimple on the drywall surface. Use a screwdriver bit or a drywall dimpler to carefully push the screw head just below the surface. This will allow you to apply joint compound and create a seamless finish.
Step 8: Repeat the Process
Repeat Steps 4 to 7 for each additional drywall panel. Remember to align the edges correctly and space the screws evenly for consistent results throughout the installation.
Step 9: Finishing Touches
After the drywall panels are properly secured, you can proceed with applying joint compound, sanding, and painting to achieve a professional finish. Follow standard drywall finishing techniques or seek guidance from a professional if needed.
We are a professional fastener manufacturer and supplier. If you have any needs, please contact us.
Our Website:/.
Post time: Oct-07-2023